This is probably the simplest fun-fold card you could possibly make … and it’s my latest de-stashing obsession! I’m not sure if there’s an official name for this fold, but I’ve been calling it a Z-fold card.
Cardstock: 4.25 x 11″
DSP: 4 x 5.25″, and 4 x 2.5″
White cardstock: 4 x 2.5″
(Note: If you prefer video tutorials, click here! If you prefer written tutorials, read on!)

Score your cardstock at 2.75″ and 5.5″. Fold as below.

Attach your cardstock and DSP panels as below.

Embellish as desired.
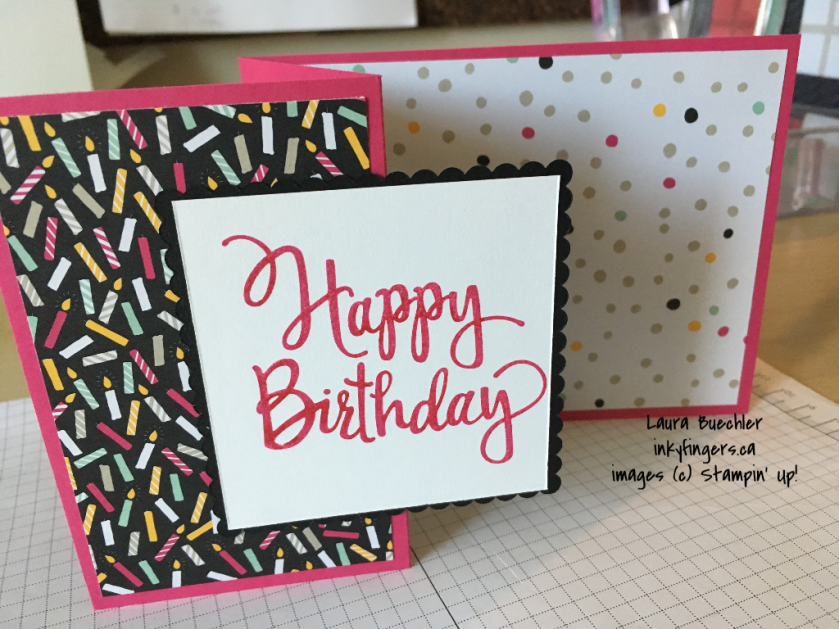
It’s that easy! This card fits in a standard notecard envelope (5.75 x 4.5″) and best of all – unlike many fancy-fold cards – you can get two cardbases out of one piece of 8.5 x 11″ cardstock, with no wastage. This might be why I’m obsessed with this fold right now …? I made about 130 of these on a recent weekend away! (I had cut all the cardstock and paper ahead of time, and assembled while relaxing in a hotel room watching Netflix with a dear friend on a girls’ getaway …. yep, that’s how we do it!!)
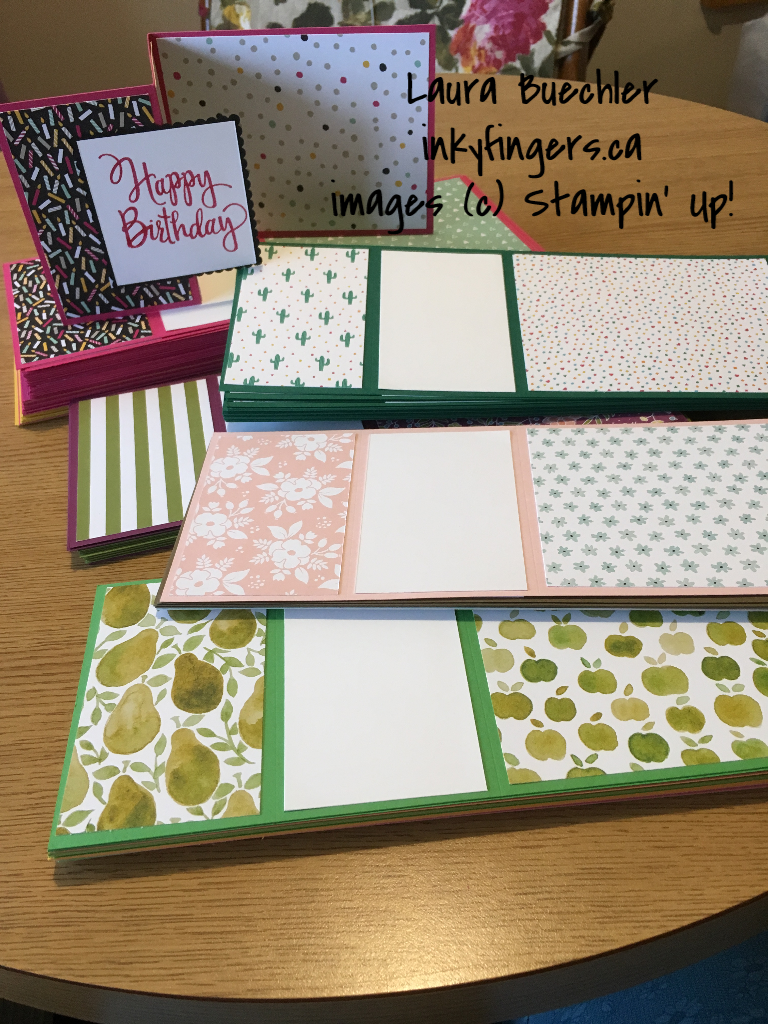
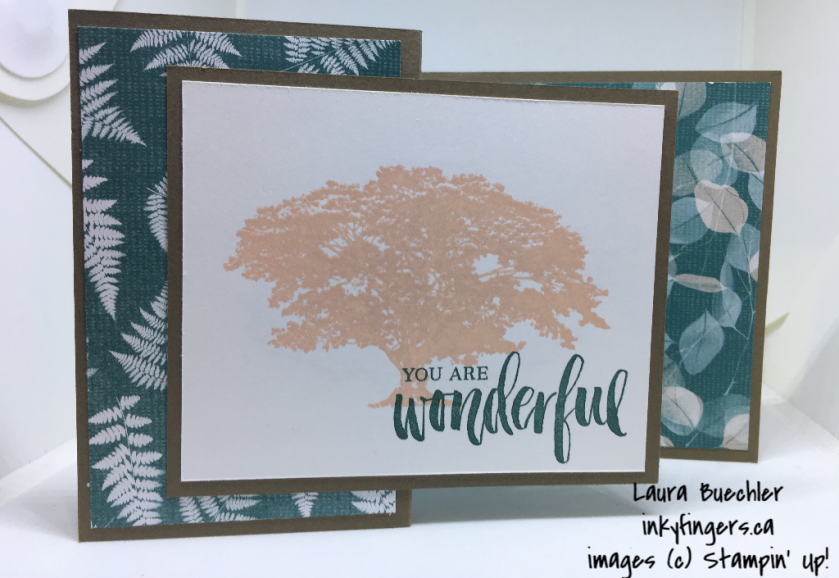
Here are some more of the finished cards:


I’m even using this fold for my October workshops:
The October 15th workshop still has room! If you want to come and make this card, along with two other fun-fold cards, go to the “Upcoming Events” page and RSVP before the class is full!
Have you made any projects with this fold? Share them in the comments below! I love to see your creations!
Happy Stampin’!

 Please visit my 24/7 online store by clicking above, or contact me: lauralyzer@gmail.com.


 Have you subscribed to my monthly newsletter? You’ll receive project tutorials and inspiration, as well as all workshop dates and special promotion news. Don’t miss out, sign up today!


3 thoughts on “Tutorial: Z-fold card”