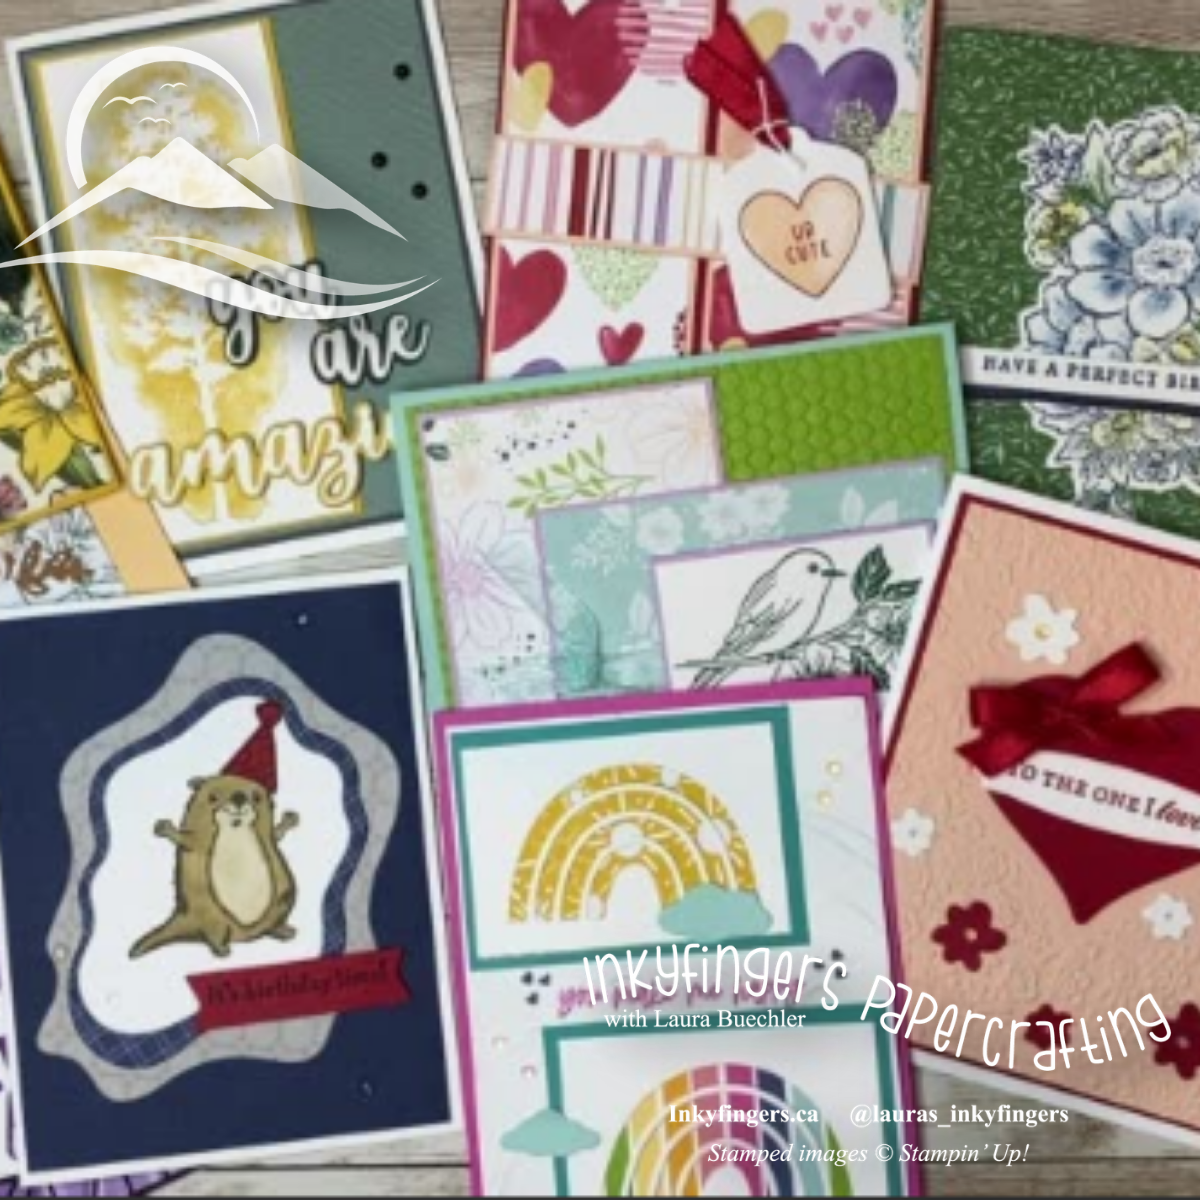
This week’s Stampin’ Sunday video will give you a sneak peek into some of the goodies from the upcoming January-June (Spring Mini) Catalogue, and Sale-a-Bration brochure!
Which of these products is your favourite? Drop me a comment below and let me know what you’re excited about! I’d love to hear from you!
Happy Stampin’!
Thanks for reading today! If you enjoyed this post or found it useful, please consider sharing it! And be sure to join me on Facebook for daily content!
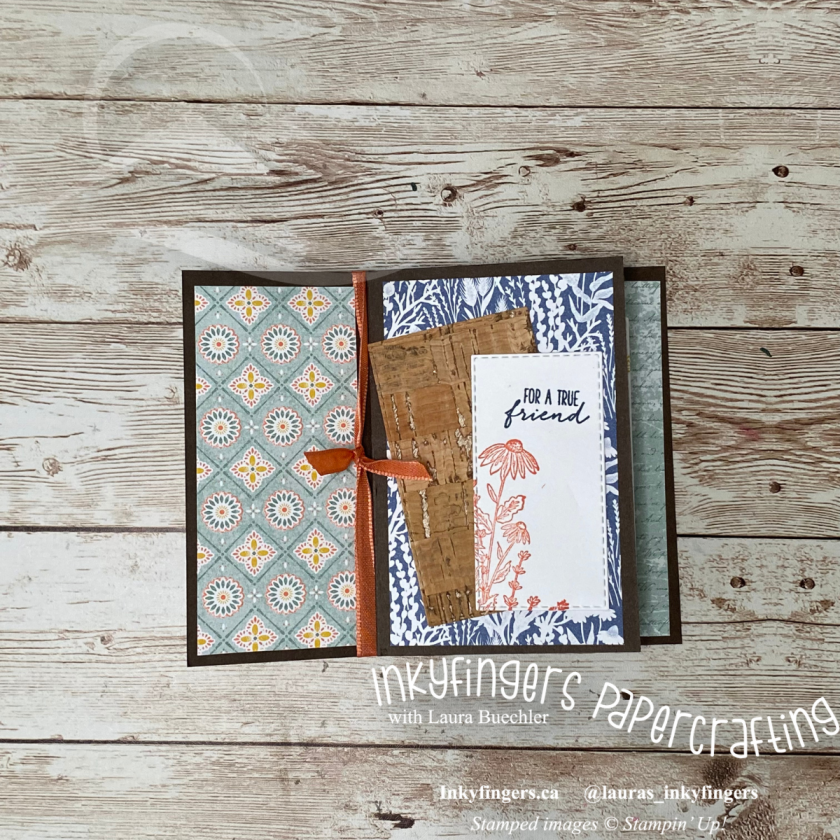
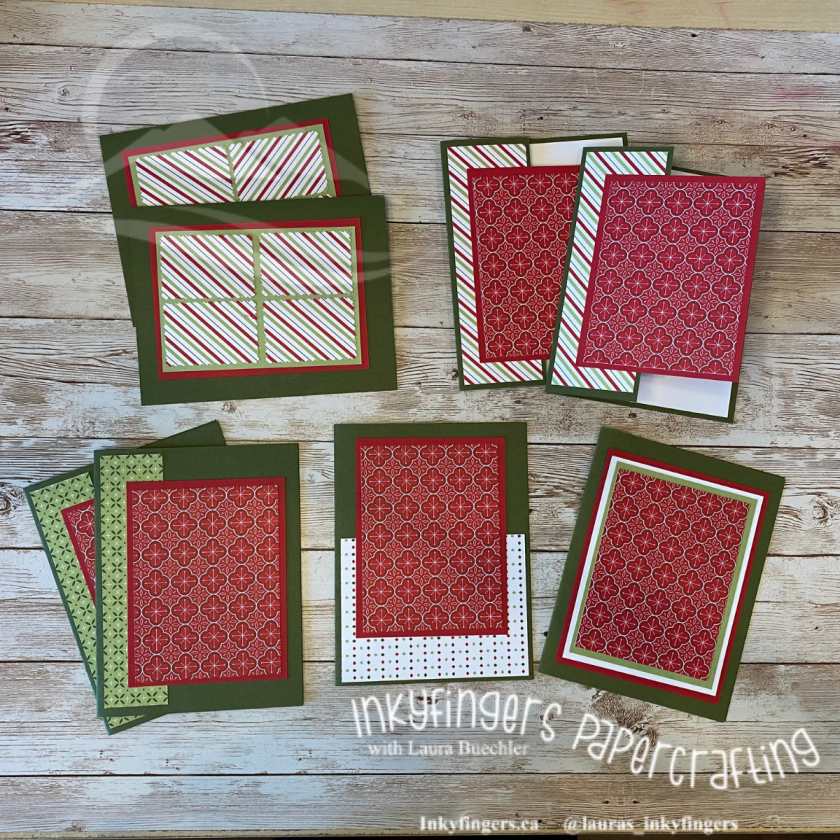
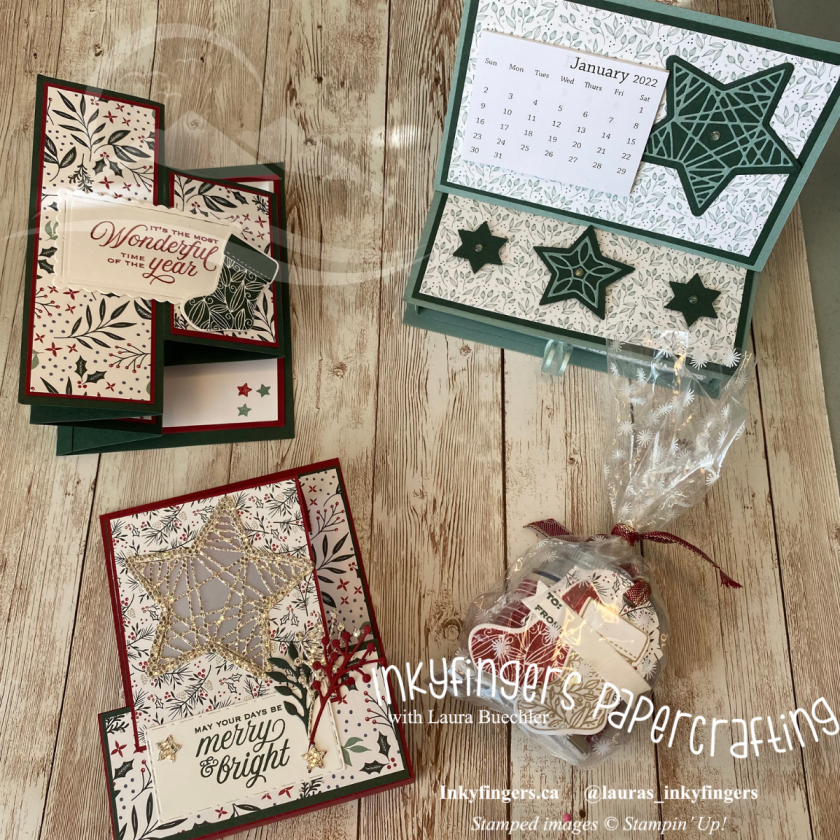
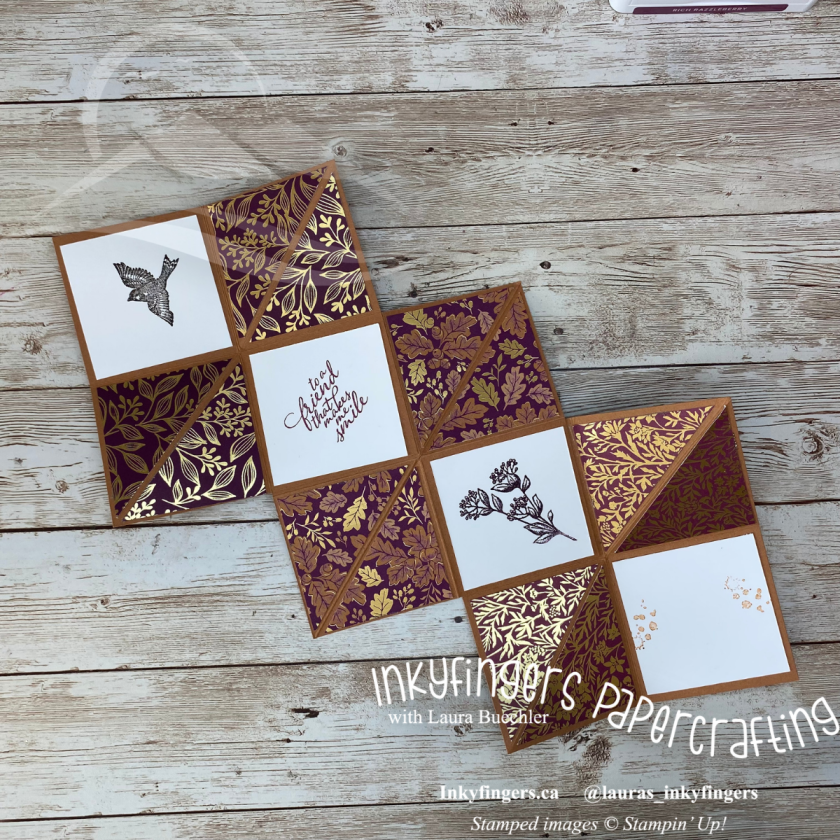
You know I am always on the lookout for fun new card folds to learn – and this one caught my eye, for sure! It’s a terrific way to show off lots and lots of our beautiful Designer Series Paper. You’ll have to cut a lot of pieces to get started, but it’s pretty easy to put together – I’ll walk you through every step!
Here are the measurements: Cardbase: 10 x 6″
Cardstock: 7-1/4 x 3-5/8″ White cardstock: 3-3/4 x 3-3/4″
Cardstock: 3-7/8 x 3-7/8″ (3 pieces) Cardstock: 1-7/8 x 1-7/8″ (7 pieces)
Designer Series Paper: 3-3/4 x 3-3/4″
Designer Series Paper: 3-1/2 x 3-1/2″ (3 pieces)
Designer Series Paper: 1-3/4 x 1-3/4″ (7 pieces)
You’ll also need about 16″ of ribbon or twine.
Let’s start with your piece of 7-1/4 x 3-5/8″ cardstock. Score this in half and burnish the fold to make it into a mini card. Add two of your DSP pieces (3.5 x 3.5″ to the two inside panels.
Wrap your ribbon around the left side of the closed card, so that both ends are on the right. Apply adhesive to the front and back of the card to secure ribbon.
Attach third piece of 3.5 x 3.5″ DSP to the front of this mini card (which will cover the ribbon). Set aside.
Now let’s work on the main cardbase. We have some cutting and scoring to do.
Put your cardstock into your trimmer at the top and line up the long side at 2″. Cut only from 4″ to 8″.
Do not flip your cardstock over, but rotate it (spin it like a record, baby) 180 degrees. Repeat the step above: put the cardstock into the trimmer at the top and line up the long side at 2″. Again, cut only from 4″ to 8″ (these cuts will not line up.) At this point, your cardstock looks like this:
Now time for some scoring. Rotate your cardstock so the short side is parallel to the scoring blade, and score as follows:
At 2″: From the top edge to the cut line At 4″: Full length of card At 6″: Full length of card Rotate the cardstock 180 degrees again, and score the opposite side at 2″, from the top edge to the cut line.
Your cardstock should now look like this:
Start laying out all your cardstock and DSP pieces on the cardbase to see where they go and which sides you want to use. (The pieces shown at the top of the below photo will go on the back of the card.)
The mini card you completed earlier will go in the bottom left of the main cardbase.
Once you have everything lined up how you want it, attach all your pieces to the main cardbase.
Here is the back view, where you can stamp a sentiment and write a message.
Now you can burnish all your folds. Here’s a photo to show where all the different folds are going.
When the card is closed, it looks like this:
You can add extra stamps and embellishment to the card, but there really isn’t much needed in order to finish it off – it’s already pretty terrific!
Once you’ve tried out this fold, be sure to share a pic in the comments below! I love to see your creations!
Thanks for reading today! If you enjoyed this post or found it useful, please consider sharing it! And be sure to join me on Facebook for daily content!
Thanks for reading today! If you enjoyed this post or found it useful, please consider sharing it! And be sure to join me on Facebook for daily content!
Thanks for reading today! If you enjoyed this post or found it useful, please consider sharing it! And be sure to join me on Facebook for daily content!
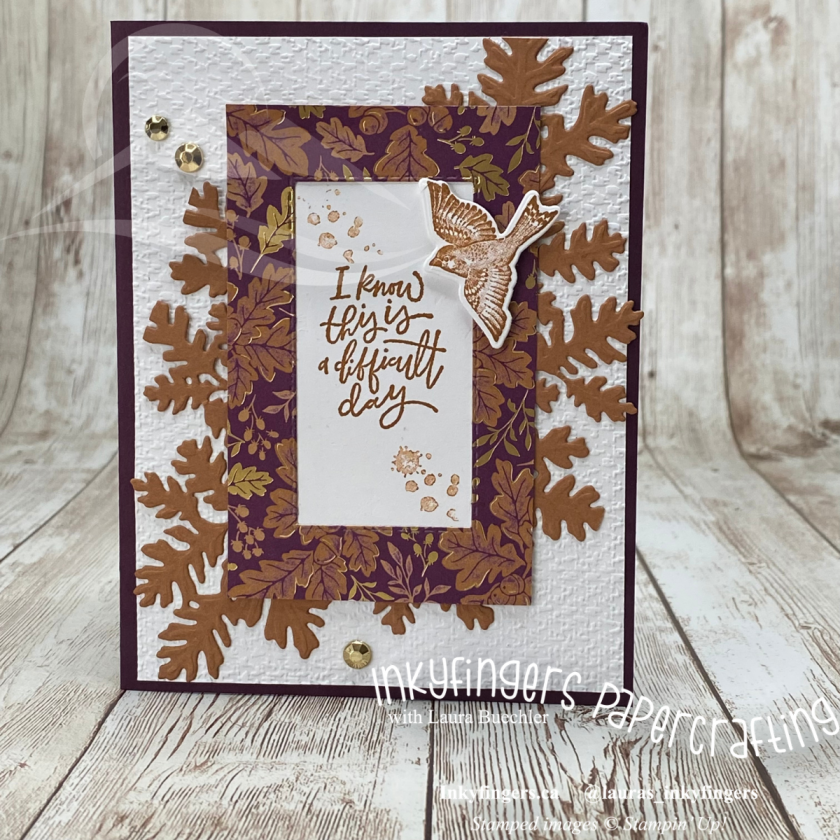
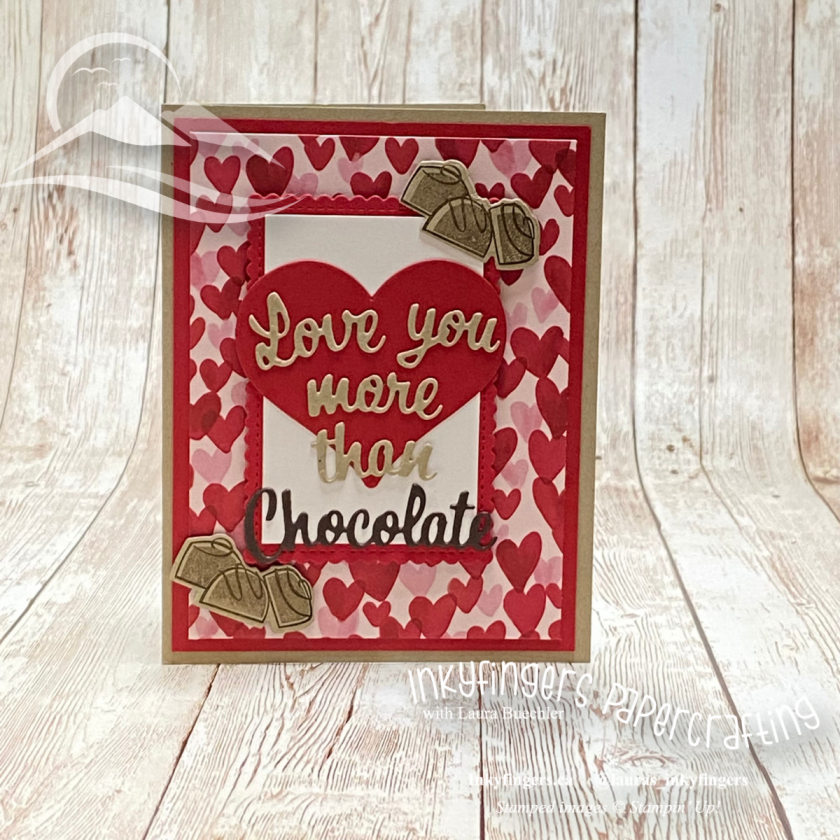
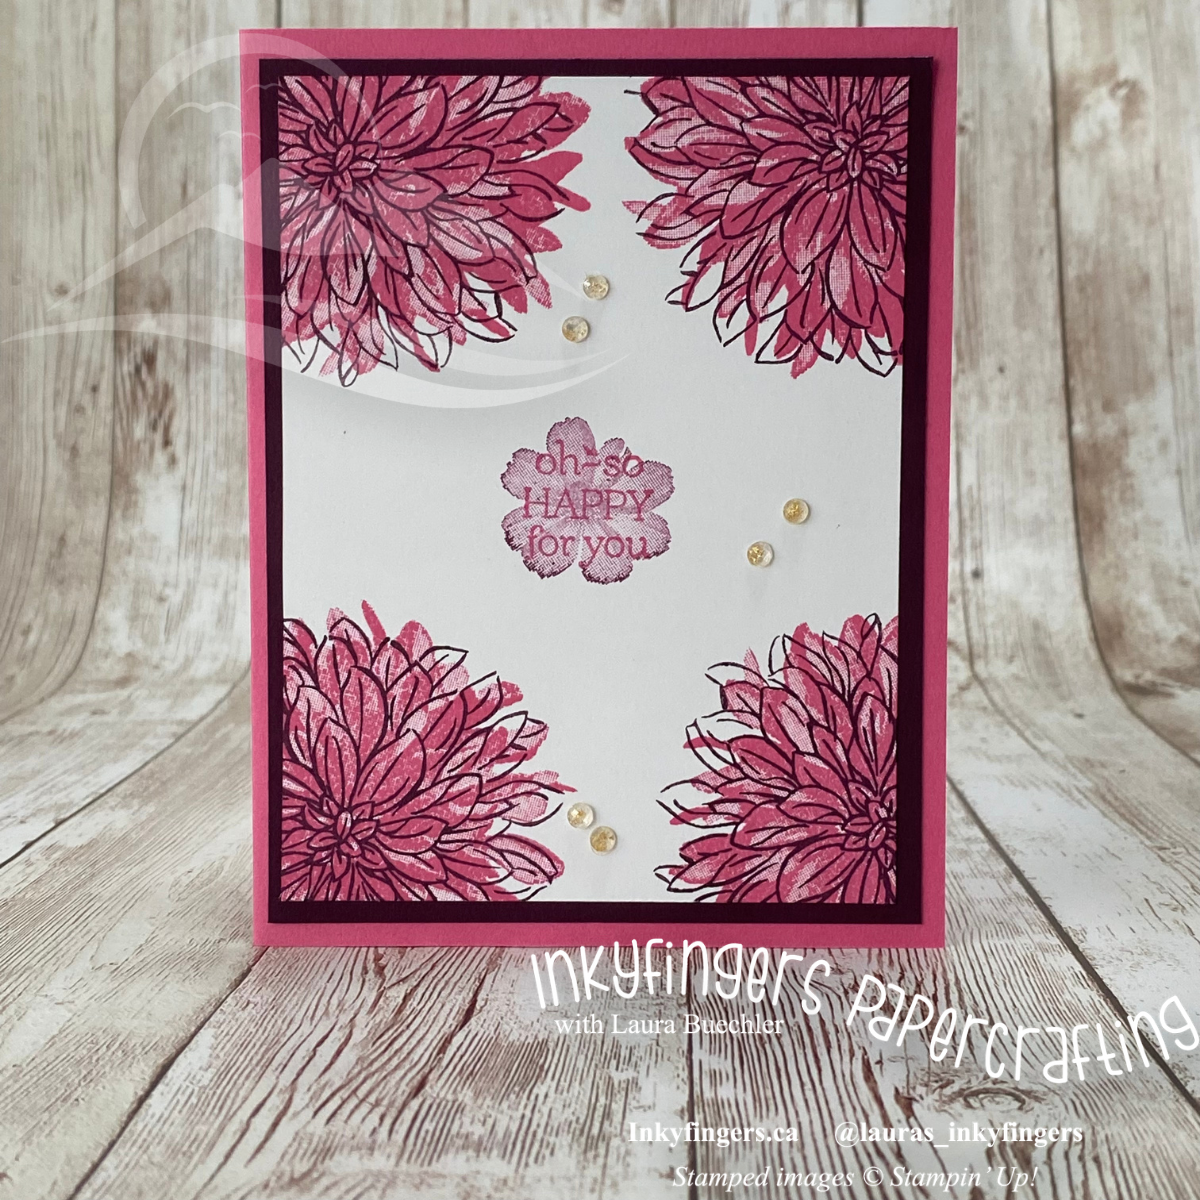
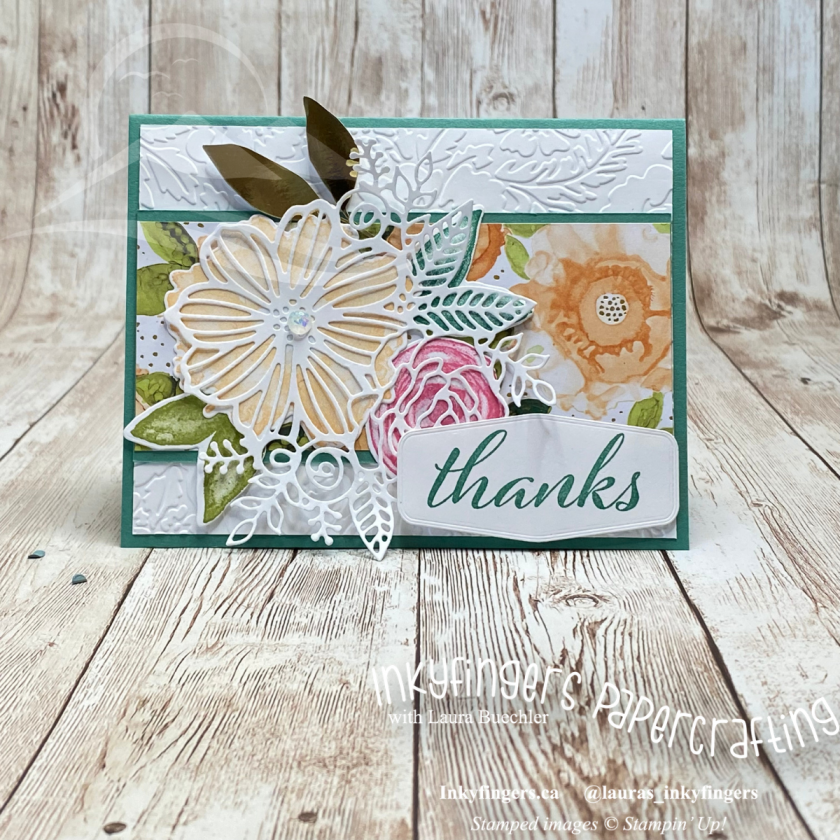
Learn all about the different possibilities with the gorgeous Distinktive stamp set, “Delicate Dahlias” – which you can get FREE with your qualifying purchase until September 30th!
You’ll need: Card base: 5.5 x 8.5” Cardstock: 4 x 5.25“ White: 3.75 x 4″
Thanks for reading today! If you enjoyed this post or found it useful, please consider sharing it! And be sure to join me on Facebook for daily content!
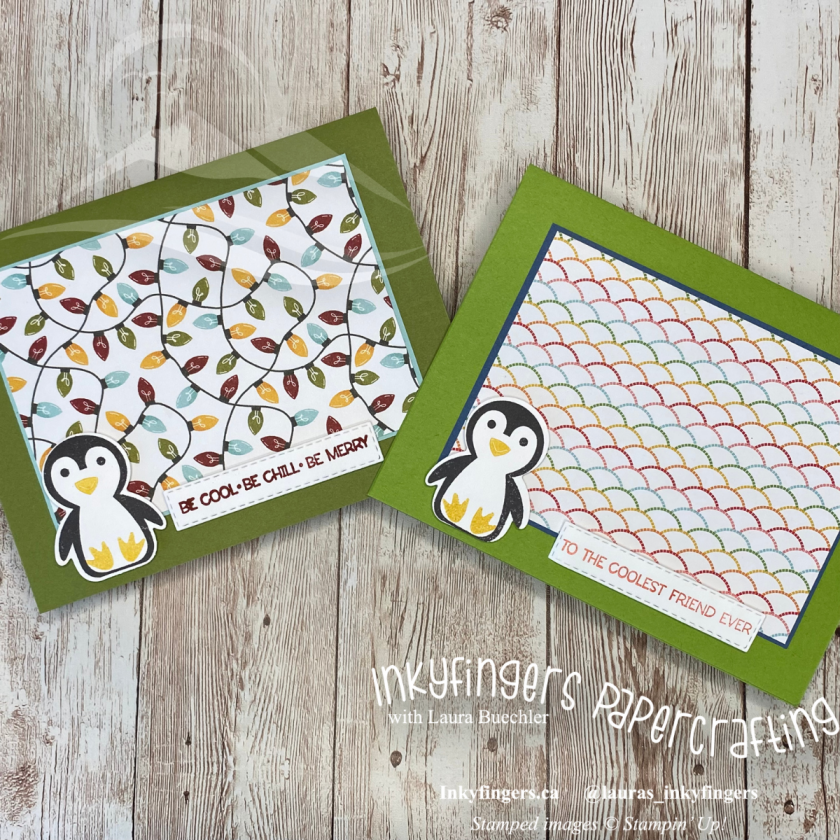
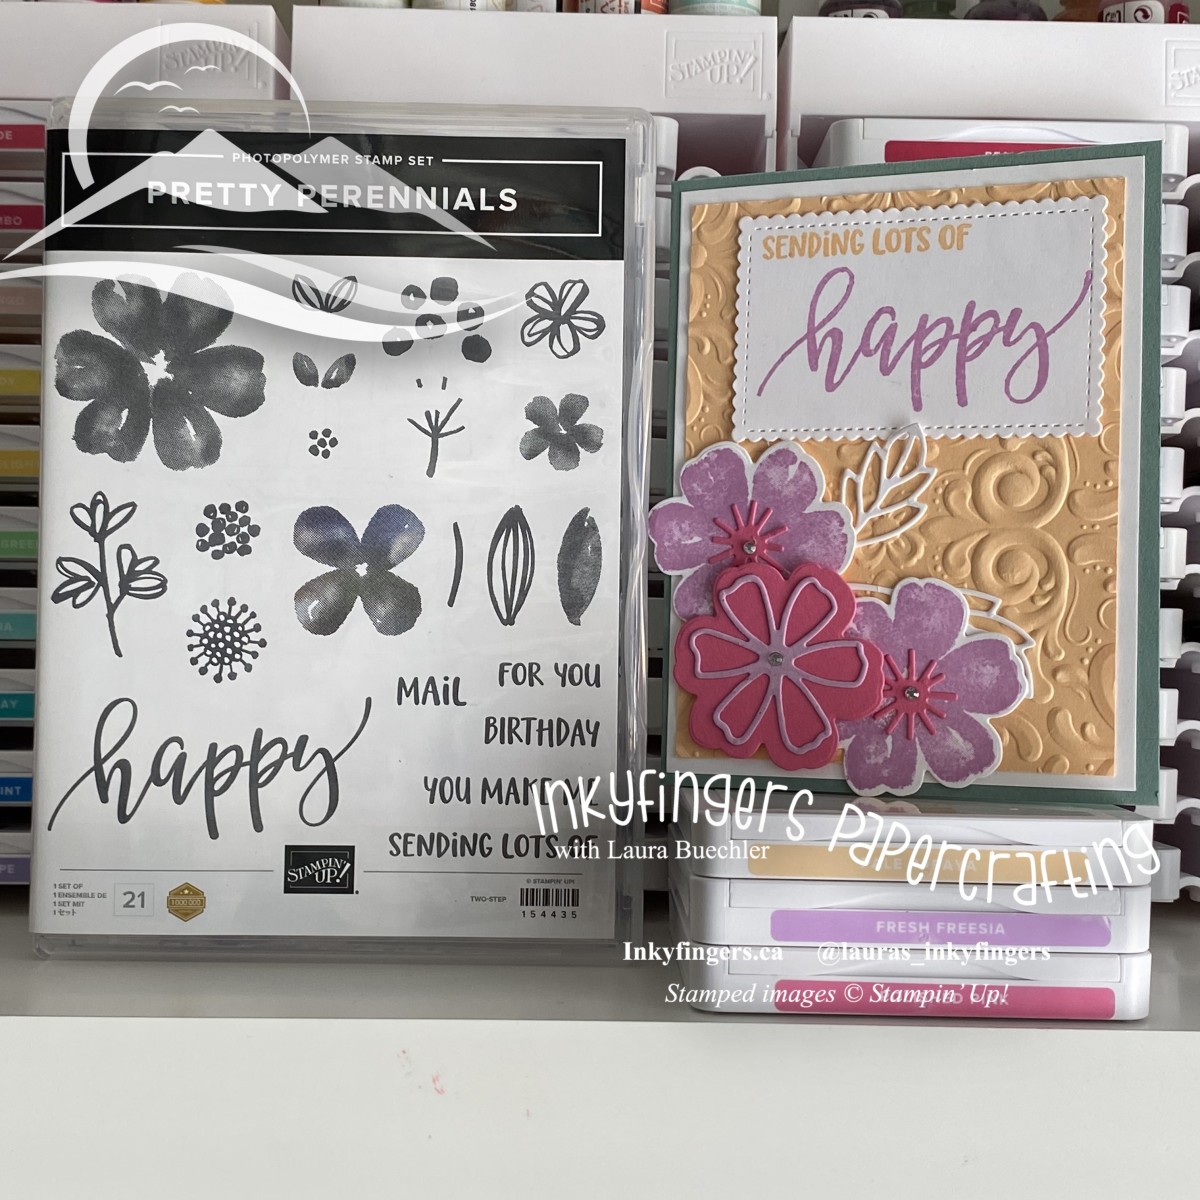
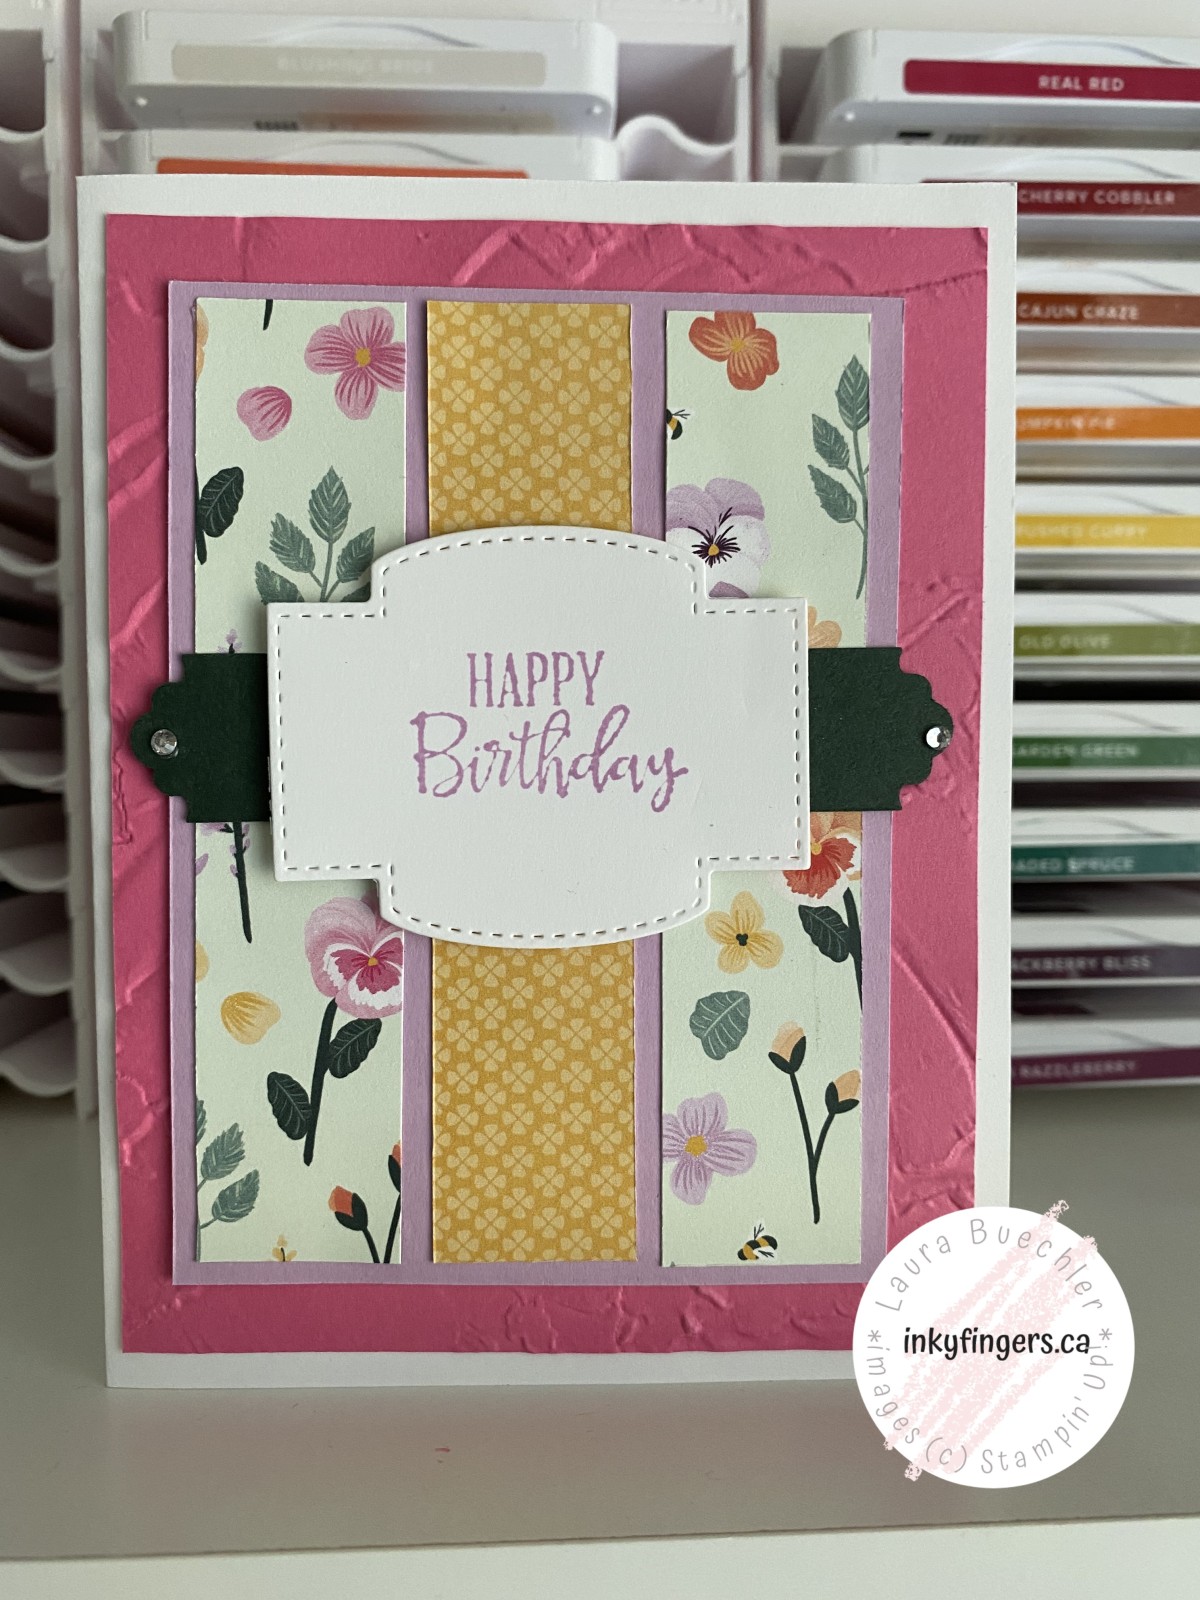
This week’s Stampin’ Sunday video will show you how to make a really pretty card made with the Pretty Perennials bundle from the Spring Mini Catalogue!
You’ll need:
Cardbase: 5.5 x 8.5” White cardstock: 4 x 5.25” Cardstock: 3.75 x 5” Plus some scrap white and coloured cardstock for stamping and die-cutting
Thanks for reading today! If you enjoyed this post or found it useful, please consider sharing it! And be sure to join me on Facebook for daily content!
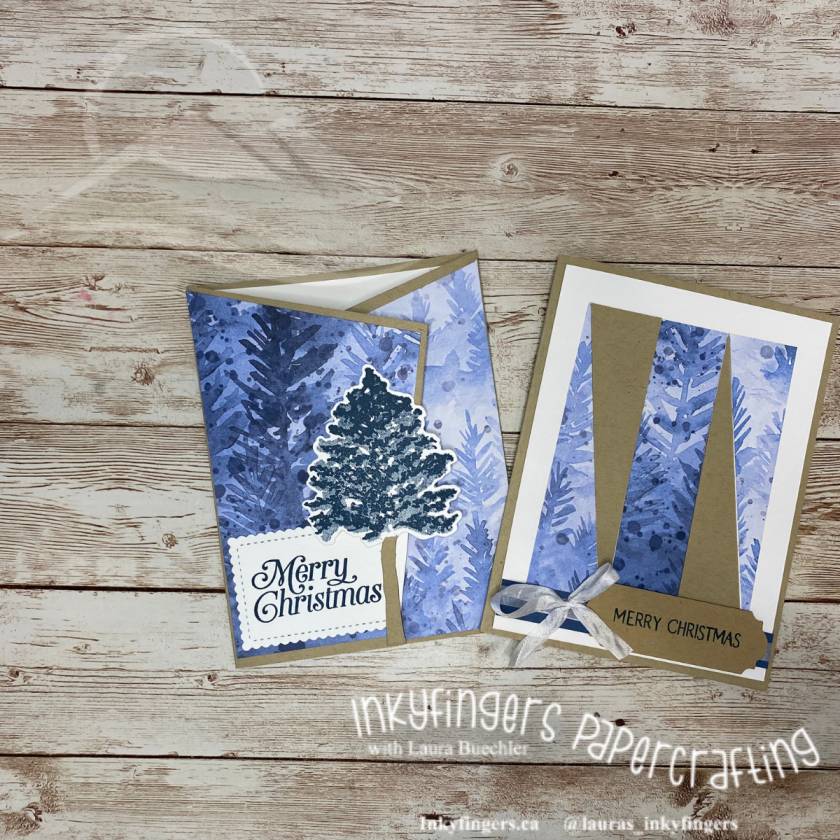
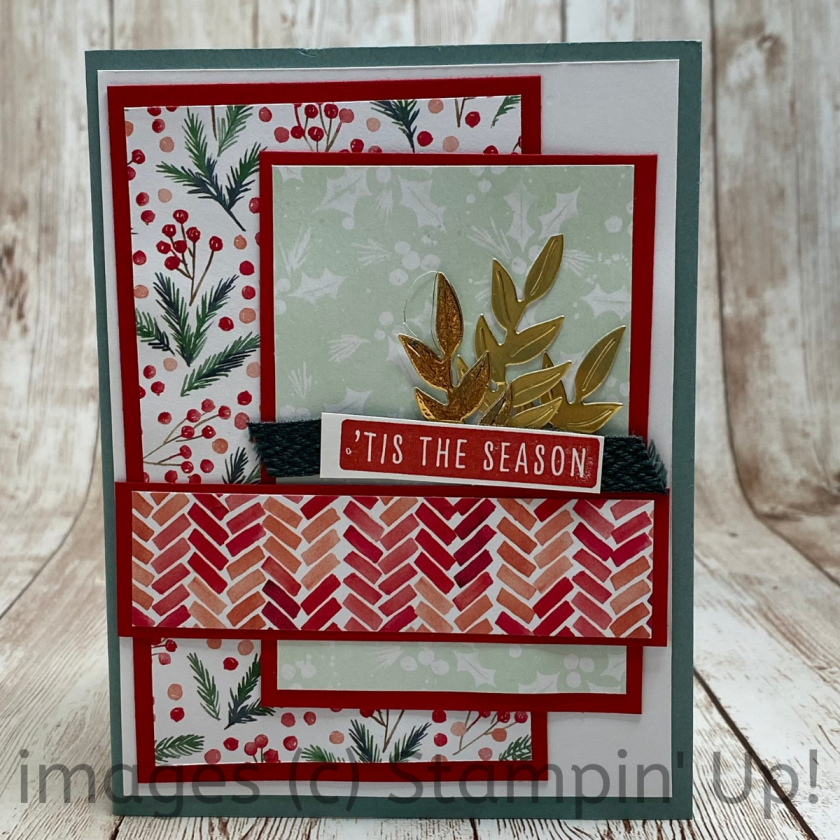
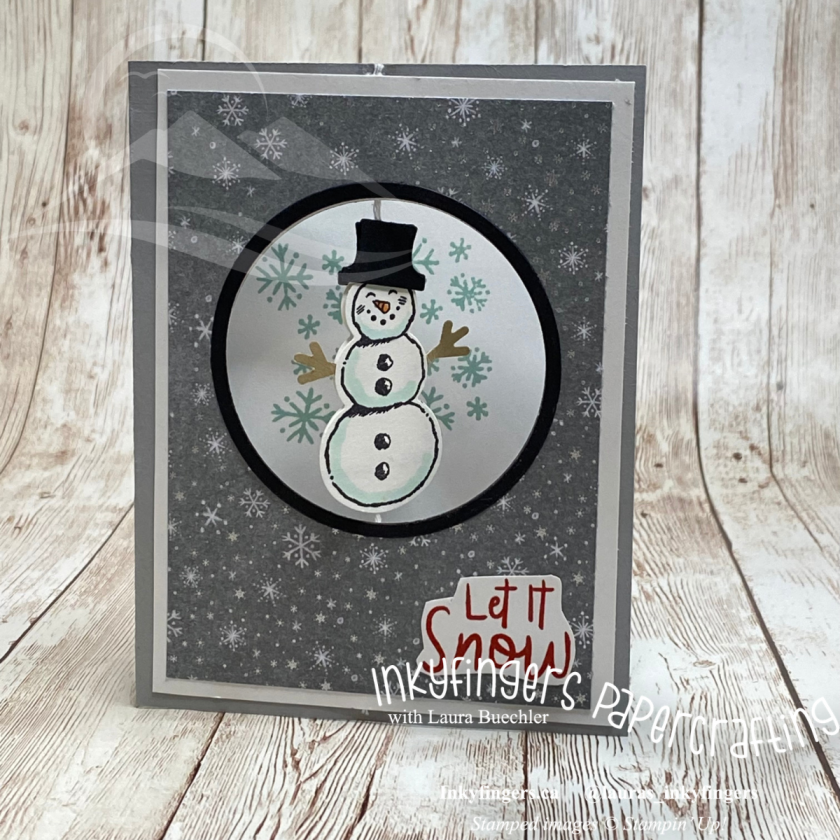
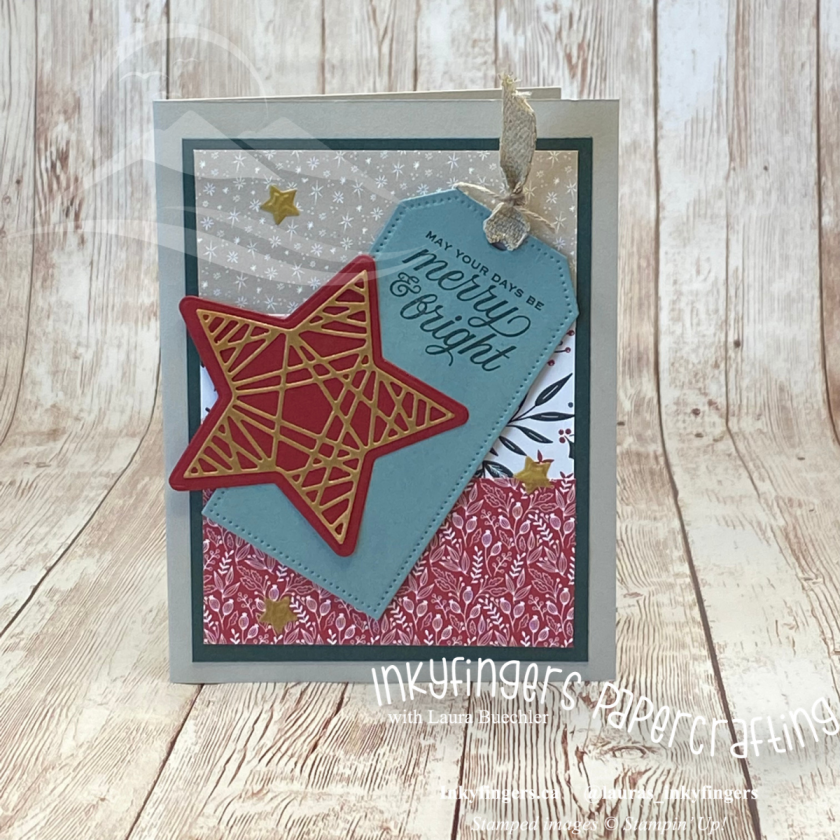
This week’s Stampin’ Sunday video will show you how to make a simple card to show off our gorgeous Designer Series Paper!
You’ll need:
Card base: 5.5 x 8.5” Cardstock layer: 4 x 5.25″ Cardstock layer: 3-5/16 x 4-9/16″ Three strips of Designer Series Paper measuring 15/16 x 4-3/8″ some scrap white cardstock for the sentiment
There are some amazing specials going on this month! First, the Connect Craft Collect special for those who’d like to host a virtual party. The rest of the year, a $300 party would get you 10% rewards ($30), but during this special, your $300 party would get you DOUBLE that amount – your 10% PLUS an extra $30 in free product. Book a party with me before June 14th to take advantage of this fantastic deal!
Thanks for reading today! If you enjoyed this post or found it useful, please consider sharing it! And be sure to join me on Facebook for daily content!
Thanks for reading today! If you enjoyed this post or found it useful, please consider sharing it! And be sure to join me on Facebook for daily content!
Welcome to another Seashore Stampers’ blog hop, and thanks for stopping by my blog today! I’m excited to share a couple of beautiful Mother’s Day cards with you. Mother’s Day is always one of my favourite occasions to create for, because I think ALL the moms deserve to be celebrated! Moms work hard for us every day, in so many ways, and one day a year is definitely not enough to thank them for all they do. Am I saying that just because I’m a mom? Well, I definitely appreciate my mom a lot more now that I have the perspective of a parent! 😅 And today is a special day for me – the thirteenth anniversary of the day I became a mom! 💖
Yes, this amazing child is 13 years old today!!
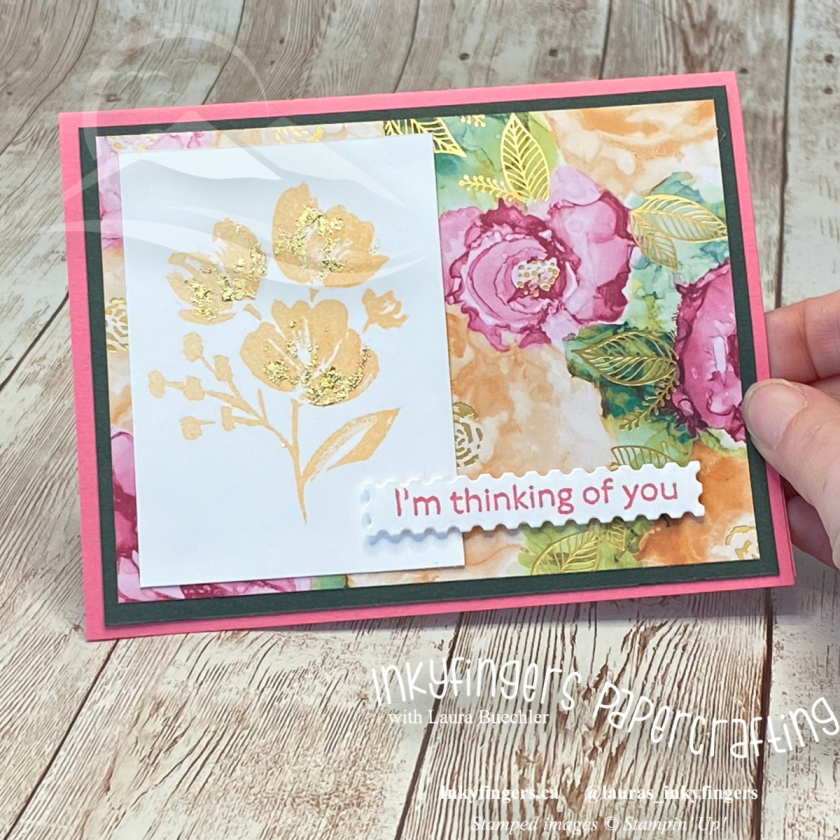
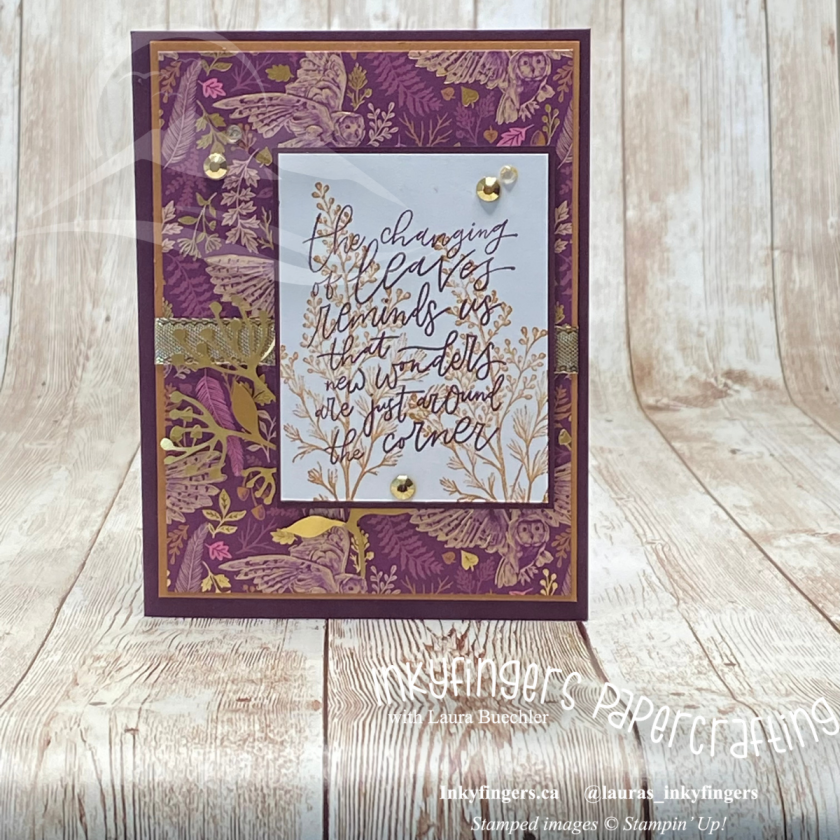
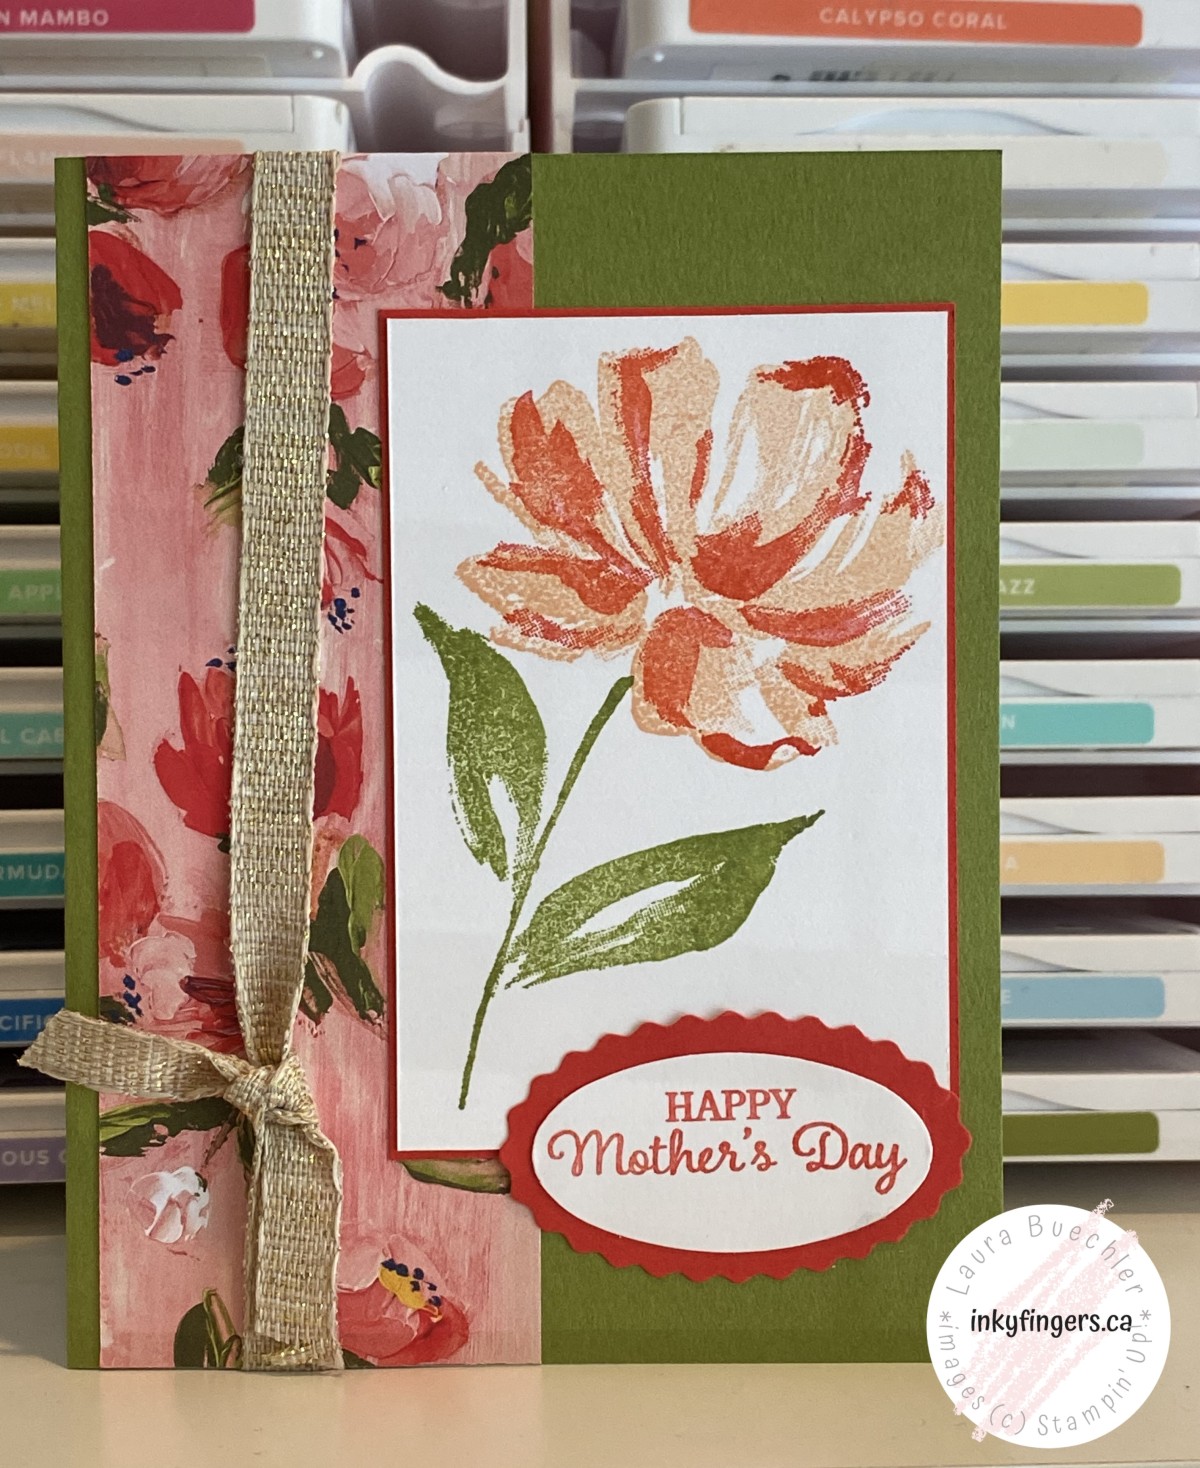
On with the cards! I made this first card a couple of weeks ago, using products from the Fine Art Floral suite. This suite is one of my favourites from the Spring Mini catalogue; from the delicate two-step stamping on the flower, to the simple elegance of the gold-woven ribbon, not to mention the stunning brushstrokes of the Designer Series Paper … there’s a lot to love in this suite!! While this layout is very simple, the card is still quite striking.
Then, I borrowed the Pansy Patch bundle, from the upcoming annual catalogue, from a friend. The new catalogue starts on May 4th, and I’m so excited about it that I’m throwing a FREE launch party! You can find all the details here. And good news – at the party, we’ll be making a card using products from this gorgeous Pansy Petals suite!
It was fun to recreate the same card with different products! All the items used to create the Fine Art Floral card are available now, and the items I used on the Pansy Patch card will be available May 4th.
Which card do you think you (or your mom) would prefer to receive?
I hope you enjoyed my projects! Now don’t forget to click on the buttons below to continue on the blog hop, and enjoy all the other Mother’s Day creations! Click on “Previous” to visit Erica’s blog and “Next” to see what MiRan has created!
If you’re excited about the annual catalogue (and why wouldn’t you be?!), plan to join me at my virtual launch party on Thursday evening, May 6th! There will be games, prizes, product demonstrations, crafting, and lots of fun – and it’s ALL free! If you’d like a supply kit to craft along with me, please be sure to RSVP by April 29th so I can get it to you in time for the party! Find all of the details here!
Thanks for reading today! If you enjoyed this post or found it useful, please consider sharing it! And be sure to join me on Facebook for daily content!
Can you believe March is almost over? And Easter is just around the corner! I don’t know about you, but here on Vancouver Island it is definitely starting to feel like Spring: lots of birdsong, lots of buds peeking out, crocuses and cherry blossoms starting to bloom. I sure love this time of year!
Today the Seashore Stampers are doing our usual monthly blog hop, and this time our theme is Easter. I hope you’ll hop along to see all the other projects after you check out mine below!
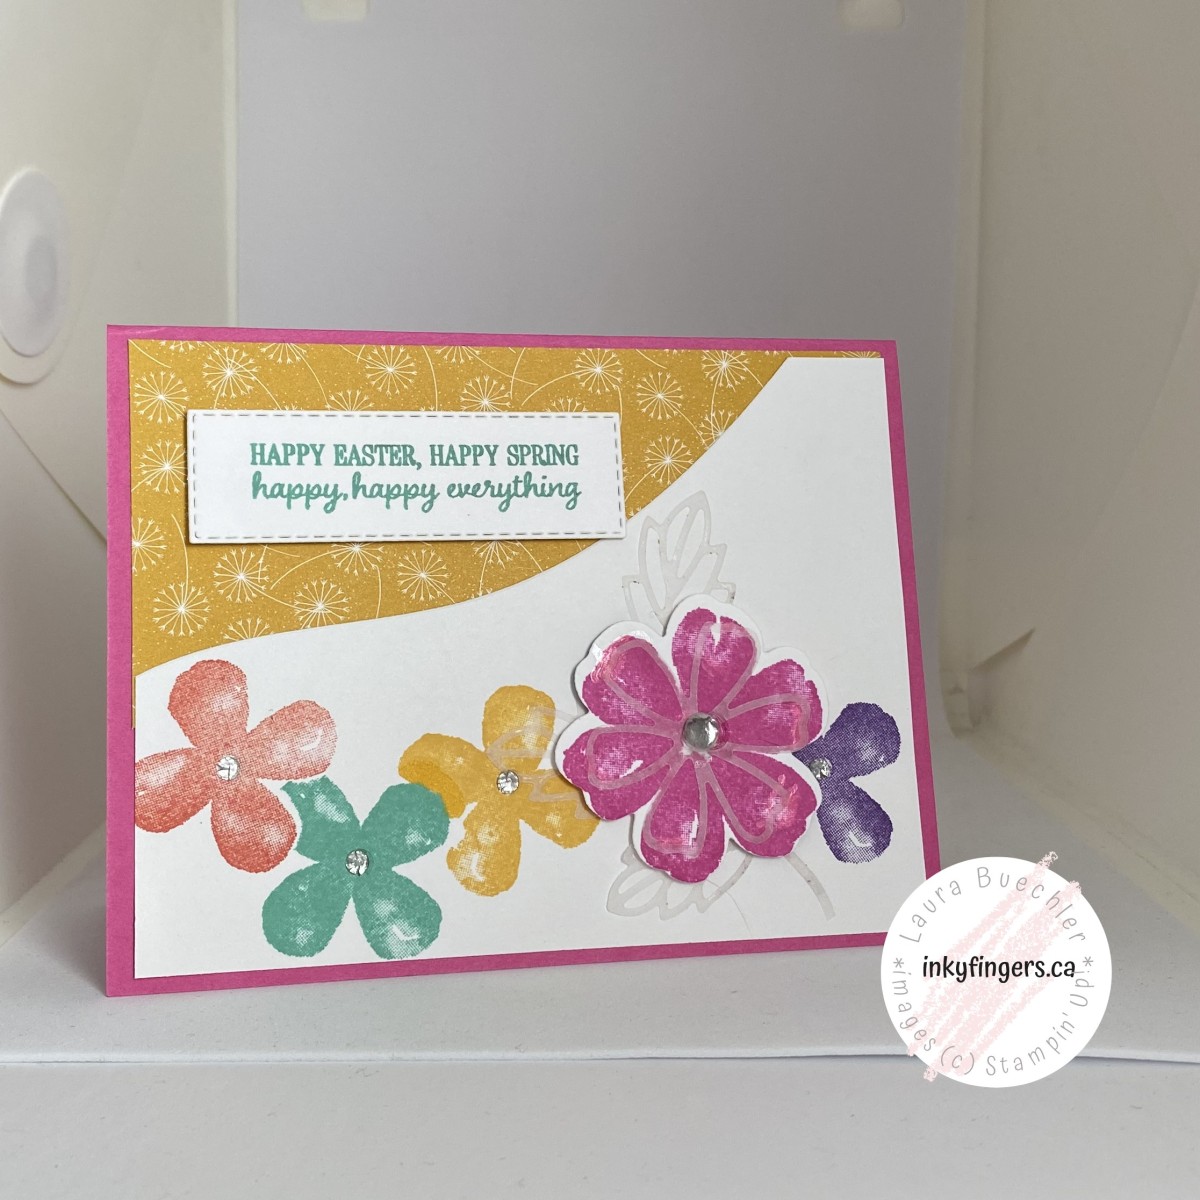
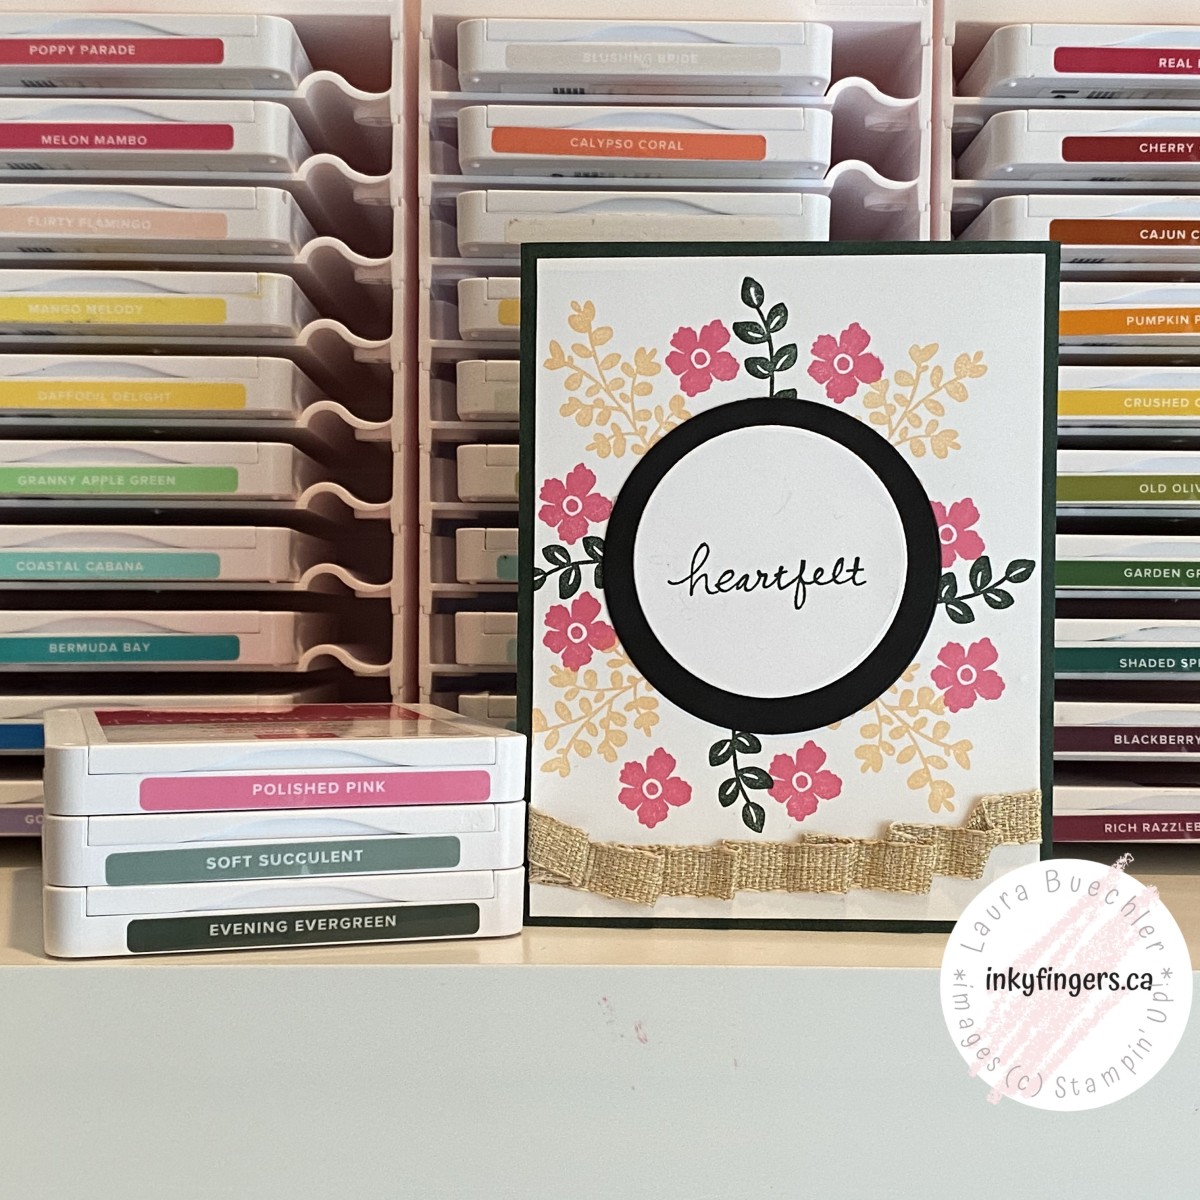
To create this card, I used a variety of products from the Spring Mini and Annual Catalogue. I knew I wanted to use Pretty Perennials, the gorgeous bundle inspired by Million Sales Achiever Dena Rekow. And I knew I wanted my favourite 2020 In Color, Magenta Madness, to be featured. I started playing with the stamps and figured out what I was doing as I went! 😁
I ended up using the masking technique a little bit, so that the flowers could overlap, and I used embellishments in each flower centre. I wasn’t quite happy with all the white space, though, so I started looking through my die sets to figure out how I could use some shapes to add another layer of interest. Curvy dies to the rescue! They allowed me to cut off a ‘curvy corner’ of the white card front, and I added the Dandy Garden paper behind. Finished off with a sentiment from Timeless Tulips, my Easter card was complete! So don’t be afraid to mix and match items from different bundles, different stamp sets, different occasions and different catalogues – just pick and choose what works for YOUR card!
Speaking of Easter, I’ve got a terrific offer for you! When you place an order with me by April 5th, you’ll receive a tutorial bundle for 23 beautiful Easter- and Spring-themed projects. All the tutorials include a full product list, step-by-step instructions, and colour photos! You’re sure to find tons of inspiration for your Spring crafting! Again, this tutorial bundle is absolutely free when you order from me!
I hope you enjoyed my project! Now don’t forget to click on the buttons below to continue on the blog hop, and enjoy all the other Easter-themed creations! Click on “Previous” to visit Erica’s blog and “Next” to see what MiRan has created!
Thanks for reading today! If you enjoyed this post or found it useful, please consider sharing it! And be sure to join me on Facebook for daily content!


 Designer Series Paper")


 Open Weave Ribbon")


 Specialty Designer Series Paper")
")


")


")


 Designer Series Paper")
")


")


 Fine Art Ribbon")


 Designer Series Paper")

")